

🚀 Don't Miss This Important Resource!
Explore Our Advance Xcel Tools Free !Blank cells can be annoying when working in Excel, particularly if they are placed all over your data. These blank cells may cause issues with calculating, filtering, and sorting. Thankfully, Excel has a robust tool called “Go to Special” that makes it easy to locate and remove blank cells. This approach is the most effective way to deal with dispersed blank cells.
💡 Ready to test your Excel knowledge?
Why Remove Blank Cells in Excel?
Excel blank cells can lead to a number of problems, such as:
- Inaccurate filtering and sorting
- Calculation and formula errors
- A disjointed data structure
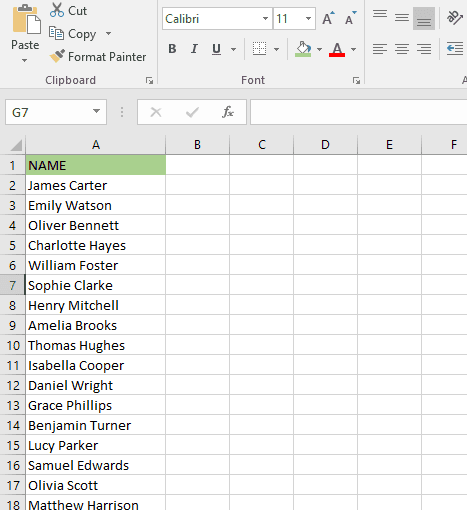
Your workflow can be streamlined and data accuracy increased by deleting extra blank cells.
Steps to Delete Blank Cells Using “Go to Special”
You can easily remove unwanted blank cells by using these steps:
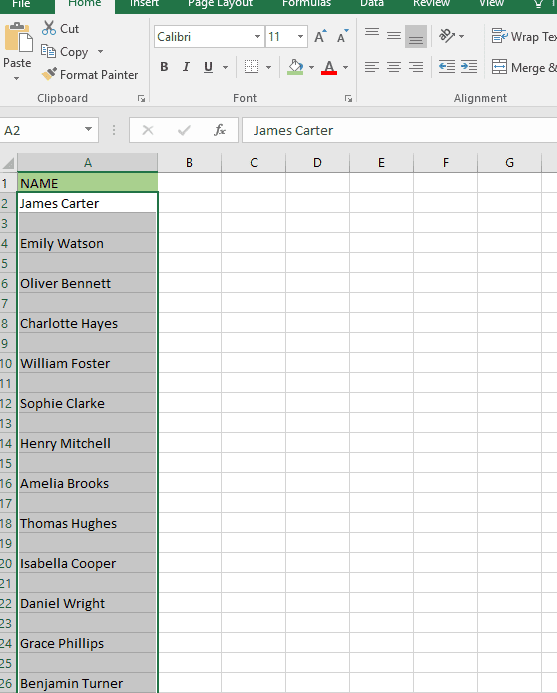
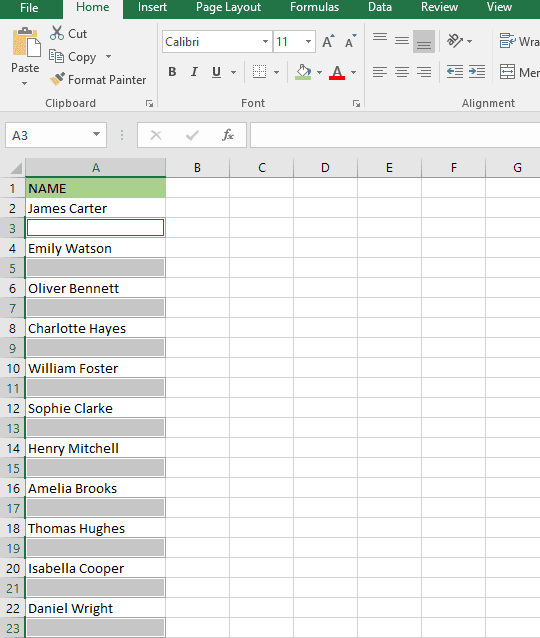
Step 1: Select the Data Range
- Choose the range of cells you wish to remove from your Excel file.
- You can pick a range of cells, a whole column, or a row.
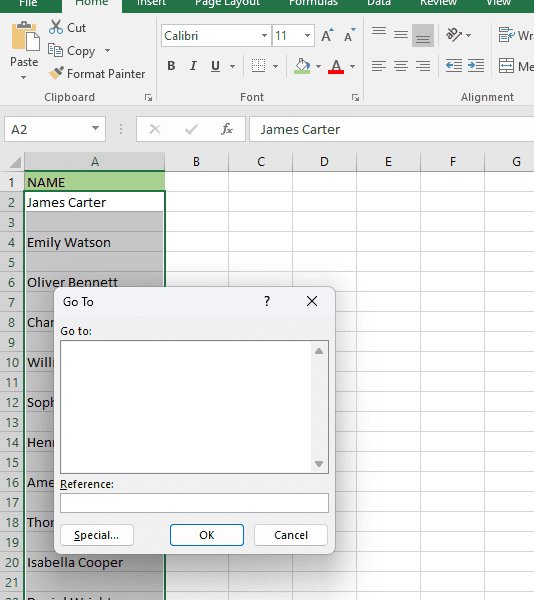
Step 2: Open the “Go To Special” Dialog Box
- To access the “Go To” window, press Ctrl + G on your keyboard.
- On the bottom of the window, click the “Special” button.
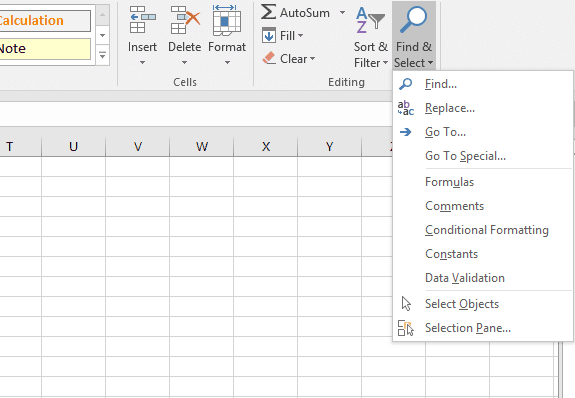
NOTE: You can use the “HOME” tab to open the “Go To Special” dialog box. You can go to HOME tab, then “Find and Select,” then select “Go To Special.“
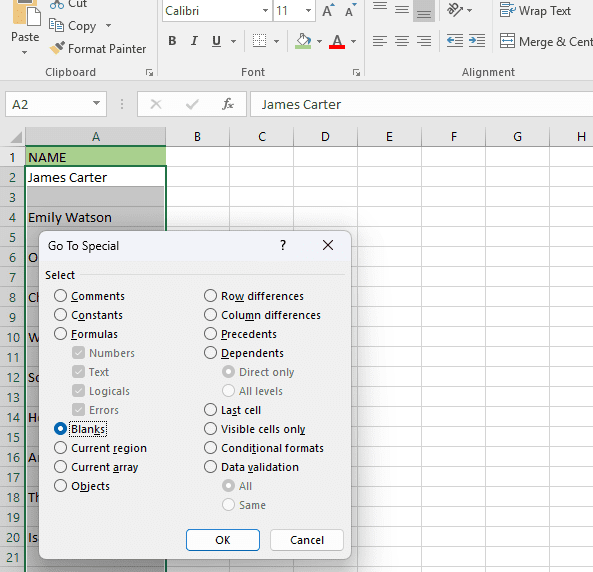
Step 3: Choose “Blanks” Option
- Choose “Blanks” from the “Go To Special” dialog box.
- After selecting “OK,” all of the blank cells in the chosen range will be highlighted.
Step 4: Delete the Blank Cells
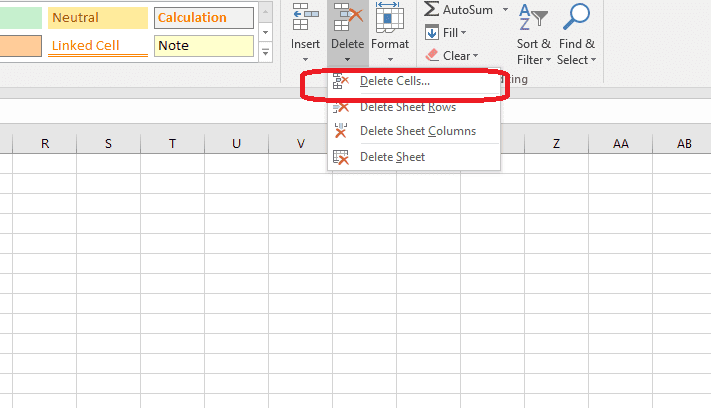
- With the blank cells selected, go to the “Home” tab.
- Click on the “Delete” dropdown in the “Cells” group.
- Choose “Delete Cells.“
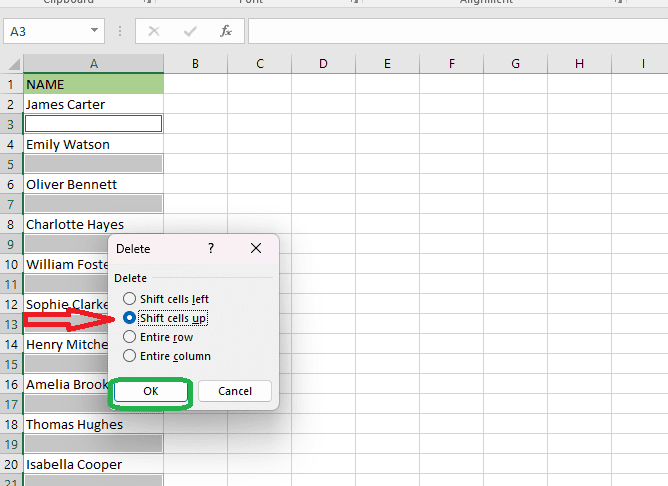
- In the “Delete” dialog box, select “Shift cells up” or “Shift cells left” based on your preference.
- Click “OK,” and Excel will remove the blank cells while shifting the remaining data.

WATCH VIDEO HERE:
ALSO READ: How to Insert Multiple Rows in Excel
Additional Tips for Deleting Blank Cells in Excel
- To avoid eliminating important empty spaces, check for accidental blanks before deleting them.
- Use sorting to move blank cells to the bottom before deleting them.
- Use filters to easily inspect and manage blank cells before making any changes.
Final Thoughts
Using the “Go to Special” function in Excel to delete blank cells is a simple and effective approach to clean up scattered blanks. This strategy enhances data organization and provides correct calculations. Following the procedures indicated above will allow you to easily manage your Excel sheets while also maintaining a structured dataset.
💡 Ready to test your Excel knowledge?