

🚀 Don't Miss This Important Resource!
Explore Our Advance Xcel Tools Free !Creating a spreadsheet often involves making a mess by copying and pasting data throughout your document. During this process, you may leave some blank rows, which can mess up your data and make your sheet appear unfinished.
💡 Ready to test your Excel knowledge?
Removing blank rows in Excel cleans up your data and makes it easier to read.
There are several ways to remove a blank row from an Excel sheet. In this article, I will provide you with some of the easiest and quickest ways to remove blank rows and make them well structured and readable.
Here are some Methods to Remove Blank Rows in Excel:
Method 1: Using Filter and Remove Blank Rows
Basically, this method is used when the data is too big.
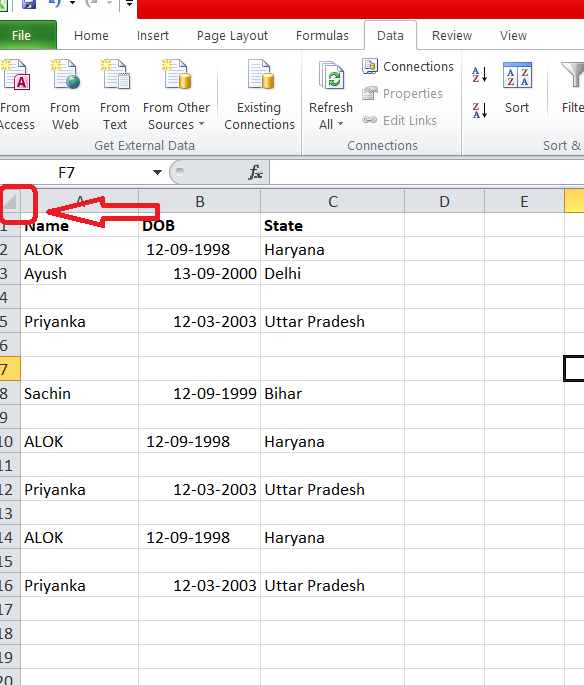
Step 1: Select all data: To select all cells, click in the top-left corner of your worksheet.
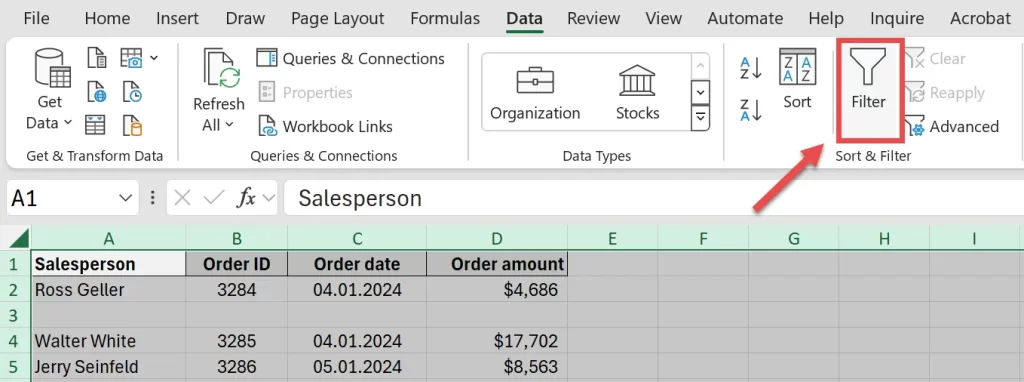
Step2: Now Apply Filter: Go to the “Data” tab and select “Filter.”
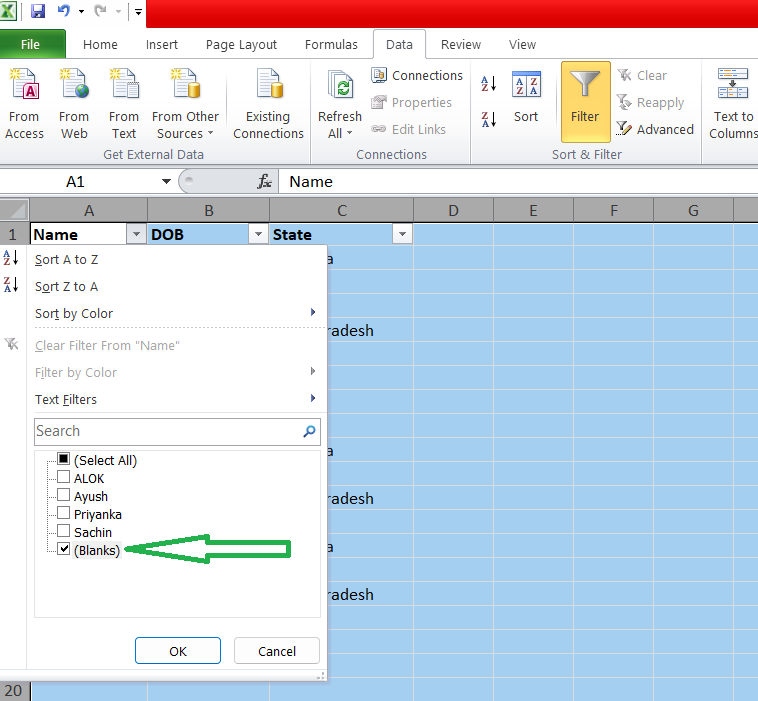
Step 3: Filter Blank Rows: Click the filter arrow, then uncheck “Select All.” Then scroll to the bottom of the list and select the ‘Blanks‘ option. Click ‘OK‘.
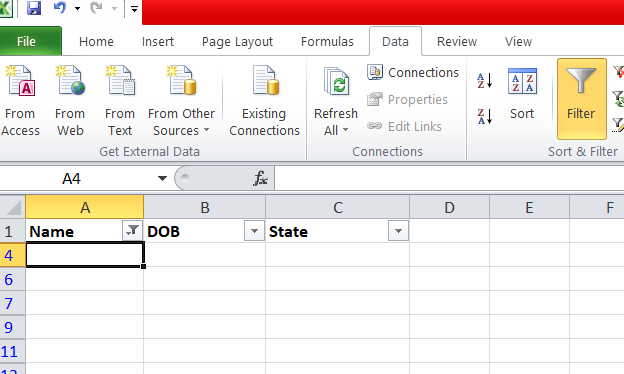
Step4: Select Blank Rows: Click the first blank row number, then press Ctrl + Shift + End to select all visible blank rows.
Step 5: Now Delete Blank Rows: After selecting the blank rows, right-click on any of the selected row numbers and choose “Delete Row“.
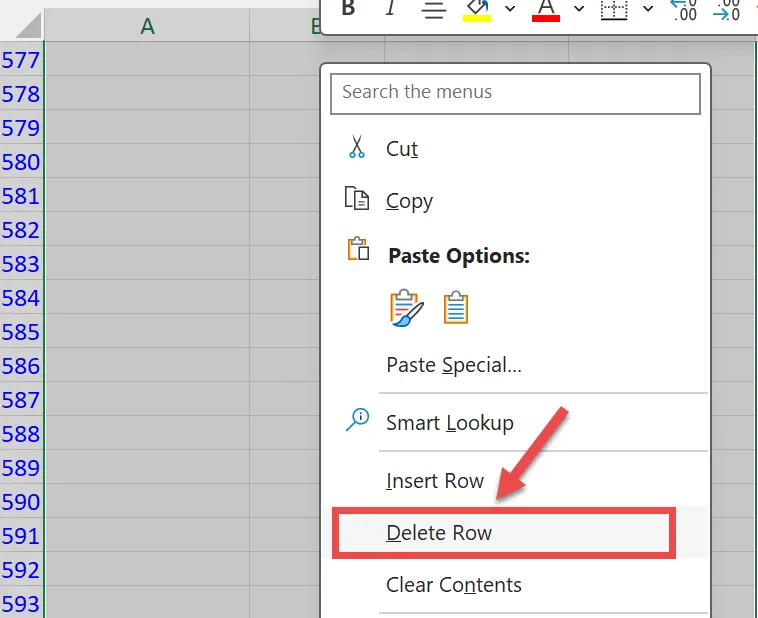
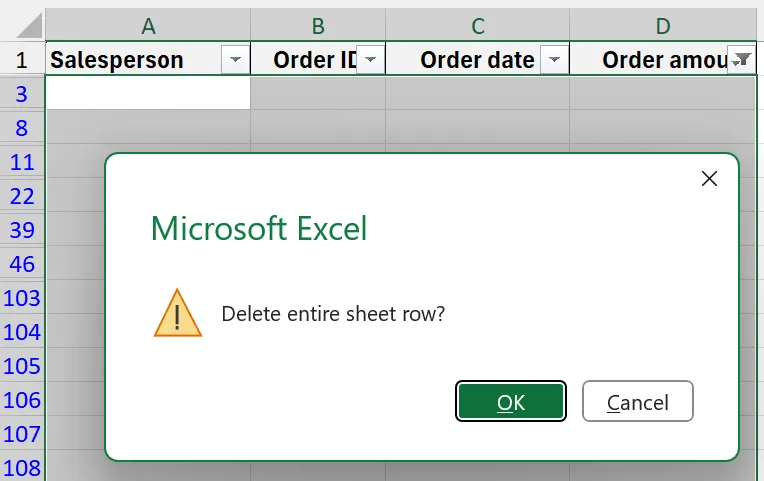
Step 6: After clicking “DELETE ROW, a dialog box will open, and you have to click “OK.” to remove the Blank rows.
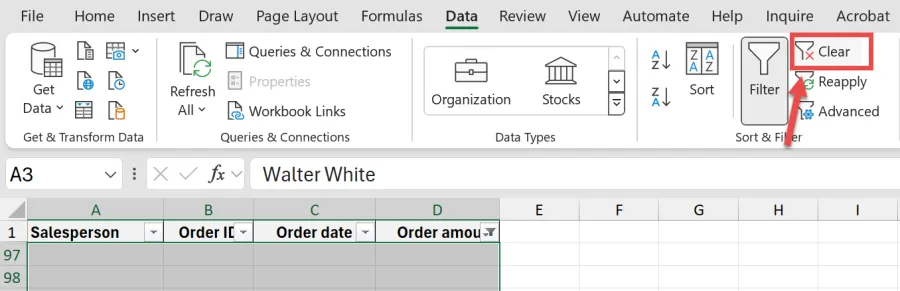
Step 7: To remove the applied filter, navigate to the “Data” tab and select the “Clear” button.
ALSO READ: How to convert excel to google sheet
Method 2: Using a Formula to Identify Blank Rows
This method is particularly useful for large datasets to prevent data removal errors. Following is a step-by-step guide to removing the black row using the COUNTA formula.
1. Insert a New Column: Add a helper column next to your data.
2 Use a Formula: In the helper column, use a formula like =COUNTA(A2:Z2) (adjust the range according to your data). This formula counts non-blank cells in each row.
3. Filter by Zero: Apply a filter to the helper column and filter for rows where the count is zero.
4. Delete Filtered Rows: Delete all rows that appear after filtering.
Method 3: Using VBA (for Advanced Users)
Use this method with large datasets or tasks that are repetitive. This method automates the process, saving time and minimizing errors.
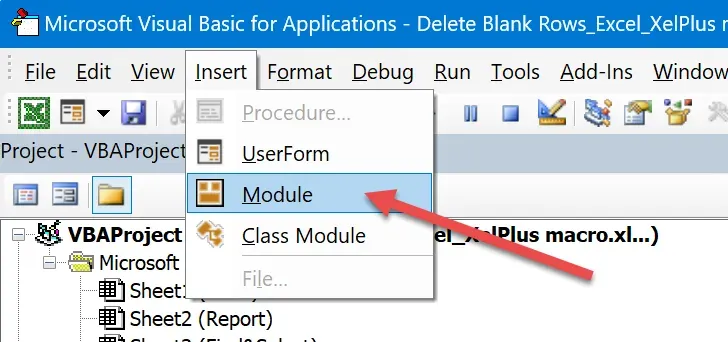
1. Press Alt + F11 to open the VBA editor.
2. Insert a New Module: In the VBA editor, navigate to the menu and select Insert > Module. This will create a new module for you to write your code in.
3. Paste the following code:
Sub DeleteBlankRows()
Dim Rng As Range
Dim i As Long
Set Rng = ActiveSheet.UsedRange
For i = Rng.Rows.Count To 1 Step -1
If Application.WorksheetFunction.CountA(Rng.Rows(i)) = 0 Then
Rng.Rows(i).EntireRow.Delete
End If
Next i
End Sub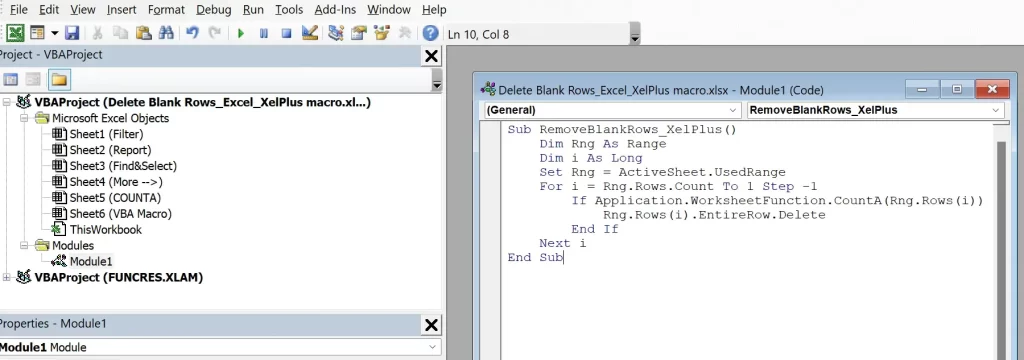
4. Run the macro by pressing F5.
This VBA script will loop through your data, removing any blank rows.
The above Excel tips will help you remove the blank row from your dataset. Removing the blank row helps the data look more attractive and also makes it readable.
💡 Ready to test your Excel knowledge?